
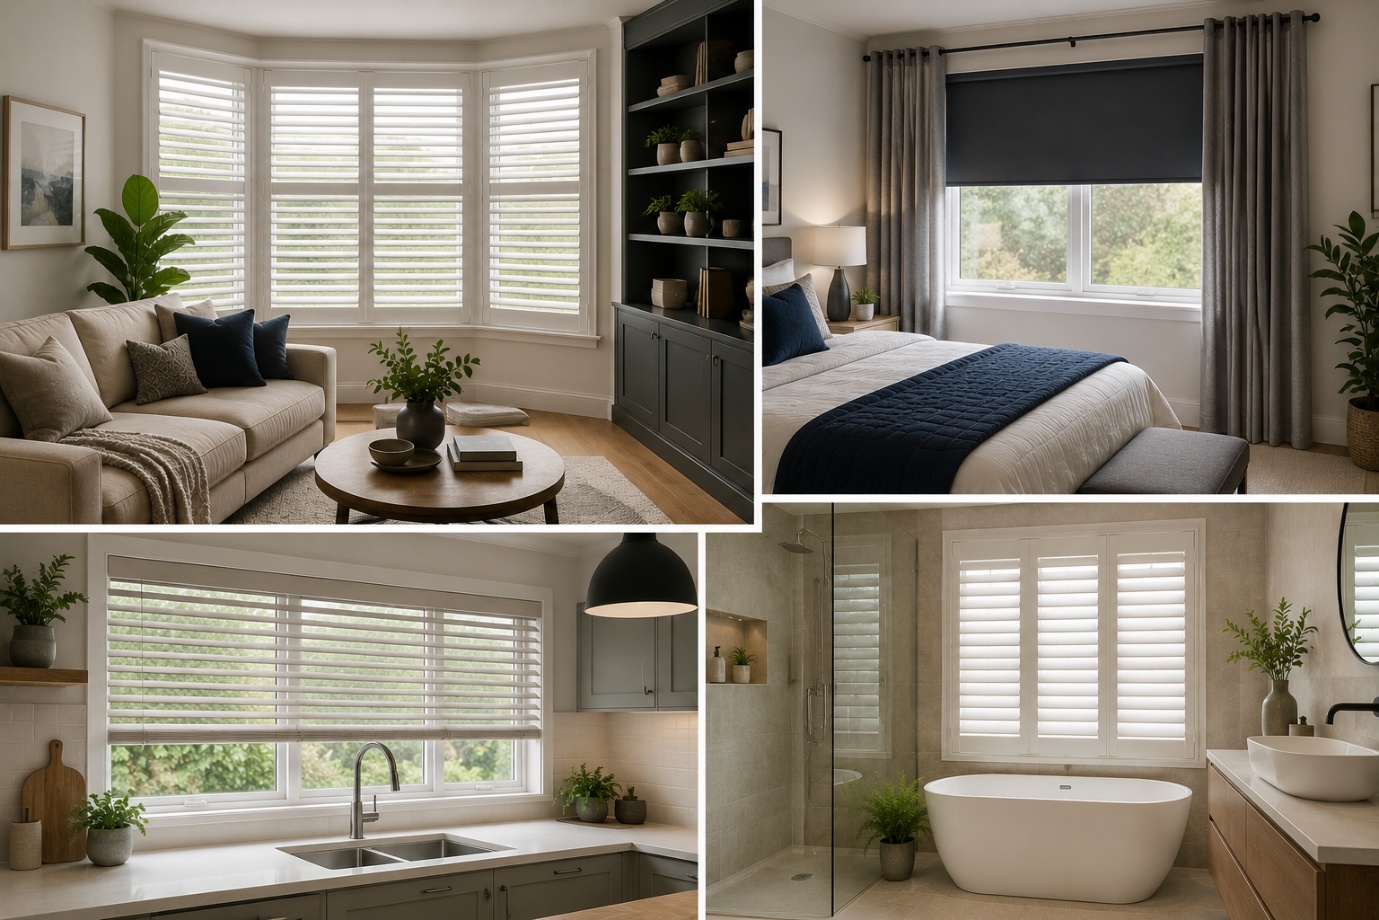
How to Choose the Perfect Window Coverings for Your Home
Window coverings are more than just decorative features. They influence


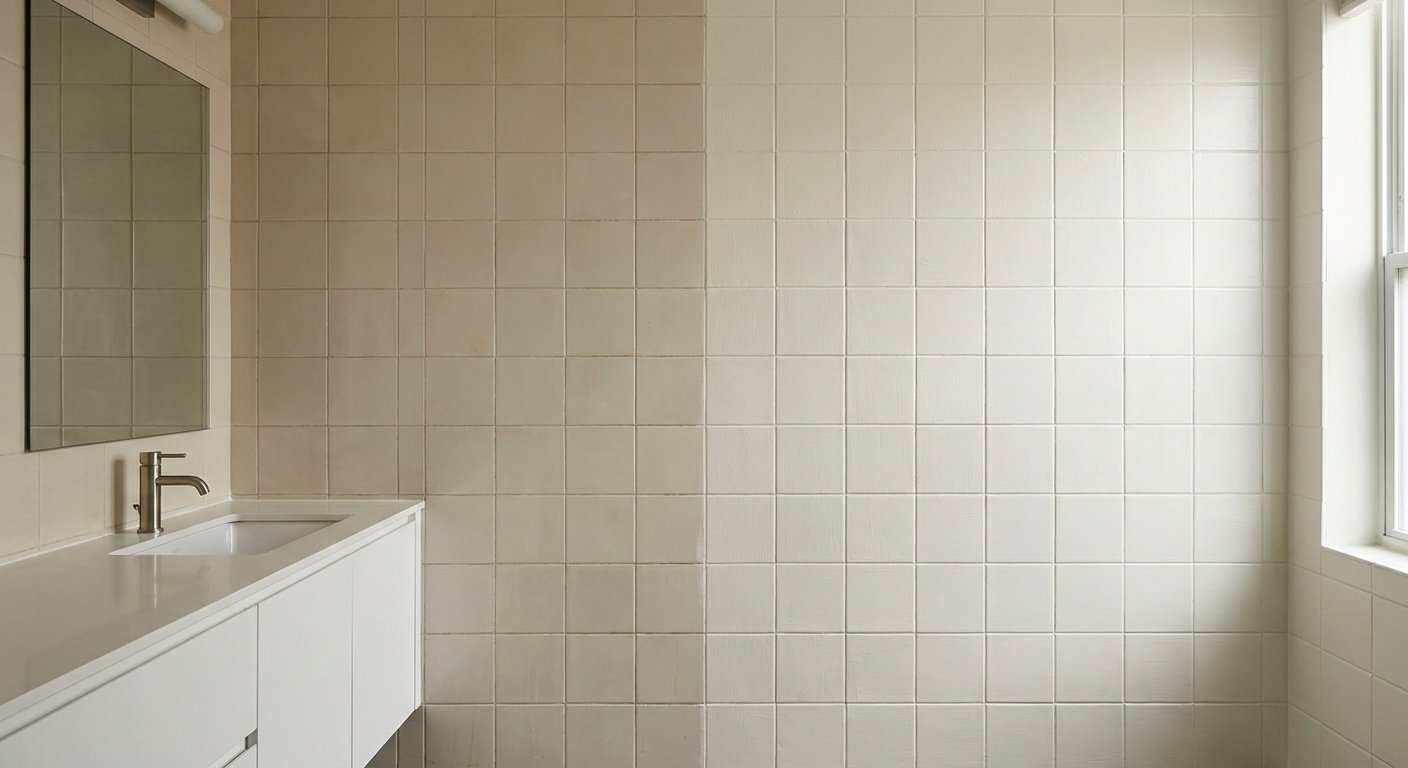
Outdated tile can make an entire room feel tired, even when everything else about the space is in good shape. Ripping out tile and starting over is expensive, messy, and disruptive to your daily life. Learning how to paint tile can give you a way to change the look of a room without tearing anything out.
The good news is that painting tile is doable for many homeowners. The key to success comes down to a few basics: choosing the right surface, cleaning thoroughly, prepping the tile the right way, using the correct primer or coating, applying thin and even coats, and giving the paint enough time to dry and cure.
That said, not every tile surface is a good fit for this project. Areas that stay wet constantly or get heavy foot traffic need extra thought before you pick up a paintbrush. This guide walks through everything you need to know, from deciding if your tile is paintable to keeping your finished project looking good for years.
Quick answer: Yes, many ceramic and other tile surfaces can be painted when they're properly cleaned and prepared. The best results depend on using a coating designed for the specific tile and location. Constantly wet surfaces and high-traffic floors require more specialized products and may not be suitable for standard tile paint.
Yes, many tile surfaces can be painted, but whether it's a good idea depends heavily on the surface itself and where it's located in your home.
Tile can be tricky to paint because of its glazed, smooth finish. That glaze is designed to resist stains and moisture, which is great for durability but not so great for paint adhesion. Without the right prep work, paint can peel or chip off fairly quickly.
Painting tends to work best on:
On the flip side, there are some real limitations to keep in mind. Constant water exposure, heavy foot traffic, tile that's cracked or damaged, and areas that need frequent scrubbing with harsh cleaners can all cause painted tile to fail sooner than you'd like. Painting is more of a cosmetic refresh than a permanent fix, and it works best when your existing tile is structurally sound.
Both the type of tile and where it's installed play a role in whether painting will hold up over time.
Ceramic is one of the most commonly painted tile types. Because ceramic tile usually has a glazed finish, it needs proper prep work before paint will stick. If you're wondering how to paint ceramic tile successfully, wall applications tend to be much easier to manage than floors or countertops that see constant contact and cleaning.
Porcelain is denser and harder than standard ceramic tile, which makes it a bit trickier to work with. Because of how tightly packed the material is, picking a paint or primer specifically made to bond with porcelain matters even more here. Product compatibility can make or break the final result.
Bathroom wall tile can be a solid candidate for painting in certain spots, but not all bathroom surfaces are equal. A wall well away from the shower behaves very differently than tile that gets splashed or soaked daily. Constant water exposure changes the equation and adds risk to the project.
A kitchen backsplash is often a great candidate for a paint refresh. Since this area collects grease, cooking splatter, and food residue, cleaning thoroughly before you start is especially important for getting paint to stick properly.
Floors can be painted, but only with a coating specifically designed for foot traffic. This application is more demanding than a wall or backsplash because floors deal with constant walking, dropped items, and frequent mopping. The product you choose has to be rated for floor use, not just general tile use.
Here's a quick summary of how these surfaces compare:
| Surface | Paintability | Main concern |
| Ceramic wall tile | Generally suitable | Proper preparation |
| Porcelain | Product dependent | Dense surface |
| Kitchen backsplash | Often suitable | Grease and cleaning |
| Bathroom wall | Location dependent | Moisture |
| Tile floor | Product dependent | Foot traffic |
| Shower floor | High concern | Constant moisture plus wear |
Before you buy a single can of paint, it helps to know where painting tile usually doesn't hold up well. This section can save you time, money, and frustration.
Be extra cautious about painting:
Here's why these areas cause trouble. Constant moisture can weaken the bond between paint and tile over time, leading to peeling, bubbling, or the coating simply washing away. Heavy foot traffic works differently but causes similar damage—it wears down the coating through friction and abrasion until the paint layer thins out and fails.
This doesn't mean every shower or every floor is completely off-limits forever. Some specialized coating systems are built to handle tougher conditions. But general-purpose tile paint typically isn't designed for constant water contact or heavy daily use, so it's smart to check what a specific product is actually rated for before committing.
There isn't one single "best" paint that works for every tile project. The right choice depends on where the tile is, how much wear it'll see, and what the manufacturer says it's approved for.
Here's a quick comparison of common options:
| Paint/coating | Suitable applications | Main consideration |
| Tile-specific paint | Appropriate tile projects | Check approved surfaces |
| Epoxy | Higher-wear applications | Application and mixing requirements vary |
| Enamel | Selected tile applications | Verify surface compatibility |
| Two-part coating | Demanding applications | Requires precise preparation/application |
Tile paint is formulated to bond with glazed and low-porosity surfaces better than standard wall paint. Epoxy coatings can provide a hard, durable finish in higher-wear applications when the product is specifically designed and approved for that use, though epoxy systems often require careful mixing and a shorter working time. Enamel finishes can offer a smooth, glossy look for select applications, but you'll want to double-check that it's compatible with your specific tile surface.
Two-part coatings, which mix a base and an activator, are generally built for tougher jobs. They require more precise application but can hold up better under demanding conditions.
One thing worth remembering: ordinary wall latex paint isn't automatically a good fit for tile. It's simply not designed to bond with a glazed, low-porosity surface the way tile-specific products are. Rather than picking a paint based on brand reputation alone, check the manufacturer's label for the tile types and locations it's actually approved for.

Getting your supplies together before you start makes the whole project go smoother.
Don't forget safety gear. Gloves, eye protection, and a mask or respirator are all worth having on hand, especially if you're working with strong cleaners or a two-part coating. Good ventilation matters too, so crack a window or run a fan while you work.
This step matters more than almost anything else in the whole process. Poor surface preparation is one of the most common reasons painted tile can fail early, so it's worth taking your time here.
Start by removing dirt, grease, soap scum, and any leftover residue from the surface. Use a cleaner suited for tile, and rinse it off if the product calls for that. Once you're done cleaning, let the tile dry completely before moving forward.
If you're working on a kitchen backsplash, pay extra attention here. Degreasing is especially important in kitchens because cooking oils leave behind a film that can prevent paint from sticking, even if the tile looks clean.
Walk the surface and look for cracks, chips, loose tiles, damaged grout, or failed caulk. If you notice signs of a moisture problem, like soft drywall nearby or a musty smell, address that before painting. Paint is a cosmetic fix, not a structural one, so it won't hide or solve problems underneath the surface.
Glossy, glazed tile is naturally slick, and paint has a hard time gripping a slick surface. Sanding knocks down that shine just enough to give the paint something to hold onto, often called creating "tooth." Use the sanding method and grit specified by your coating manufacturer, since requirements can vary between products—the goal is to dull the glossy surface without damaging the tile underneath. Once you're finished, wipe away all the dust before moving to the next step. This is one of the most important parts of how to prepare tile for painting, and rushing it can lead to peeling paint down the line.
Use painter's tape along edges, grout lines, and trim. Lay down drop cloths to protect floors or countertops nearby. If there are fixtures like faucet handles or cabinet hardware in the way, removing them when practical makes for cleaner lines and less cleanup later.
This is the part most readers are here for, so let's walk through it carefully.

If your paint system calls for a bonding primer, apply it now. Follow the product's instructions closely, and spread it evenly across the surface without piling it on too thick. Let it dry for the full time recommended on the label.
It's smart to test a small, out-of-the-way spot first to make sure the primer and paint bond properly to your specific tile before you commit to the whole surface.

Use a brush to get into edges, corners, and grout lines, then switch to a roller for the larger flat areas. Apply a thin, even coat rather than trying to cover everything in one heavy pass. Try to keep a wet edge as you work, meaning you overlap each new section while the previous one is still wet, so you don't end up with visible lines where sections meet.

Check the product label for the exact drying time and stick to it. Don't judge whether it's ready just by touching it—some coatings feel dry on the surface while still curing underneath. Rushing the recoat window can cause the second coat to bond poorly with the first.

A second coat usually evens out the color and improves overall coverage, especially in spots where the first coat looks thin. Use the same brush-and-roller technique as before, and resist the urge to load up the roller too heavily.

Once the second coat is on, take a close look across the whole surface. Check for thin spots, drips, roller marks, missed edges, and any areas with uneven coverage. Catching these now is much easier than fixing them after everything has fully cured.

Drying and curing are not the same thing. Drying just means the surface feels dry when you touch it. Curing is the longer process where the coating reaches its full hardness and durability. Even if your tile looks and feels done, give it the full cure time before using the surface normally—this is one of the most overlooked steps in how to paint tile step by step successfully.
Bathroom tile projects come with their own set of considerations, so it's worth walking through the process specifically for this space.
Not all bathroom surfaces face the same conditions. A bathroom wall away from the tub is very different from a vanity backsplash, which sees occasional splashes. Before choosing your paint color, consider how it will work with your existing bathroom colors and fixtures.
Because of this, it's worth being realistic about durability in wet zones. Painted shower tile isn't likely to hold up as long as tile in a dry bathroom area, simply because constant moisture puts more stress on the coating over time.
Kitchen backsplash tile is often one of the more practical places to try tile painting, since it usually doesn't take the kind of daily abuse a floor does.
The biggest focus here is grease removal. Cooking splatters, oil residue, and general kitchen grime build up on backsplash tile more than most people realize, and any leftover film can keep paint from bonding well. Thorough cleaning and degreasing before you start is non-negotiable.
Here's a simple process to follow: Clean → Repair → Sand/prepare → Prime → Paint → Cure.
While you're prepping, protect nearby cabinets and countertops with tape and covering, since backsplash areas are usually surrounded by surfaces you don't want splattered. Also keep in mind that the section directly behind a cooktop faces more heat, grease, and frequent cleaning than the rest of the backsplash, so it may wear down faster than areas farther away.
Floors are a different challenge altogether compared to walls or backsplashes. Foot traffic, abrasion, dirt, frequent cleaning, and furniture being dragged across the surface all add extra stress that wall tile simply doesn't deal with.
Here's what floor tile projects require:
Floor tile painting is a higher-wear project, not something as low-stakes as painting a decorative wall. General tile paints aren't always built to handle repeated walking and scrubbing, while epoxy or enamel systems designed specifically for floors tend to offer more durability in this setting.
There's no single universal drying time that applies to every tile paint job, and it helps to understand the different stages involved.
How long each stage takes depends on several factors: the specific product you're using, how many coats you applied and how thick they are, the temperature and humidity in the room, how much ventilation the space gets, and the condition of the surface underneath. Curing in particular can take quite a bit longer than simply drying, sometimes stretching from several days to considerably longer depending on the coating system and the conditions in your home. Always check the product label for the manufacturer's specific timeline rather than guessing.
The answer depends entirely on the coating system you used. Some tile paints are designed as complete, self-contained systems and don't need any additional sealer on top. Others recommend applying a compatible clear coat for extra protection, especially in higher-wear or higher-moisture spots.
Floor applications and other high-wear areas sometimes have different sealing requirements than a simple wall or backsplash project. Whatever you do, don't automatically reach for polyurethane or another clear coat just because it seems like a good idea—incompatible products can react poorly with the paint underneath. Your best bet is to follow the manufacturer's specific instructions for your product rather than assuming sealing is always mandatory.
There's no fixed lifespan you can count on here, since durability depends on a mix of factors working together: the location, moisture exposure, how much foot traffic the area sees, how it's cleaned, how well the surface was prepped, the quality of the coating, how carefully it was applied, how long it was given to cure, and ongoing maintenance.
Here's a general way to think about it by location:
Painted tile typically isn't as tough as the tile's original factory finish, so it needs a bit more care to look good over the long run.
A little regular care goes a long way toward keeping painted tile looking fresh.
Painted tile shouldn't be treated the same way you'd treat unpainted ceramic tile. The coating on top is more delicate than the original glaze, so gentler cleaning habits will help it last.
| Pros | Cons |
| Changes the appearance without removing tile | Less durable than the original tile surface in many applications |
| Can update an outdated room | Requires careful preparation |
| May reduce renovation disruption | Moisture can create durability challenges |
| Offers many color options | Heavy traffic can wear the coating |
| Can refresh otherwise sound tile | Grout may also become painted |
At its core, painting tile is mainly an appearance-focused renovation option. It's a great way to refresh the look of a room, but it isn't a fix for structural tile problems, and it comes with some durability trade-offs compared to the original tile finish.
Painting isn't always the right call. If the tile is cracked, loose, or badly damaged, you'll need to address the underlying problem first. For damaged floor tile, see our guide to fixing floor tiles before deciding whether painting is the right solution.
Here's the important distinction to remember: paint changes the finish on top, but it doesn't repair whatever problem exists underneath. If your tile has issues beyond its appearance, painting will only cover them up temporarily.
Painting tile can be a smart, budget-friendly way to update a room without a full renovation. The process comes down to a fairly simple sequence: choose the right surface, clean thoroughly, repair any damage, prep the surface properly, prime when your product calls for it, paint with thin and even coats, let everything cure fully, and keep up with gentle maintenance afterward.
If you're figuring out how to paint tile for your own home, the most important takeaway is this: it works best when the existing tile is structurally sound and you choose a coating that's actually built for the location you're painting. Match the product to the job, and you'll set your project up for a finish that actually lasts.
Yes, but check the condition of the existing coating first. Look closely for peeling, flaking, or bubbling spots, since painting over damaged paint usually leads to the new coat failing too. You'll also want to confirm that your new paint is compatible with whatever coating is already on the tile, as mixing incompatible products can cause adhesion problems.
Yes, there are alternatives. Tile refinishing or reglazing involves professionally resurfacing the tile with a new factory-like finish, which tends to be more durable than a standard paint job. Full replacement is another option if you want a completely different tile material or texture, not just a new color on top of what's already there.
It can, depending on how you approach the project. Painting straight across tile and grout lines together creates a more uniform, monochrome look. Some homeowners prefer to carefully avoid the grout lines or use a separate grout colorant afterward to keep contrast between the tile and the grout, which can change the overall style of the space.
Yes, stenciling is a popular way to add a decorative pattern to painted tile. The key is paying attention to how the pattern scale relates to your tile size, since a pattern that's too large or too small compared to individual tiles can look off. Grout lines also need to line up carefully with the stencil so the design reads cleanly across the whole surface.
Not easily. Removing a fully cured coating usually involves stripping the paint chemically, heavy sanding, or in some cases replacing the tile entirely if the coating won't come off cleanly. Because reversing the project is difficult, it's smart to test your color and coating choice on a small area first before committing to painting the entire surface.
Jackson Reed is a home DIY and projects expert with over eight years of experience turning everyday ideas into practical, achievable improvements. He specializes in hands-on projects, creative solutions, and budget-friendly upgrades that homeowners can tackle with confidence. Jackson enjoys breaking down complex projects into simple, step-by-step guidance, helping readers choose the right materials, tools, and techniques for the job. His goal is to make DIY more approachable while inspiring people to take on projects themselves and create spaces that are both functional and personal.



No Comments