
The task of getting a new kitchen sink installation can be very daunting, but it need not be! Be it in remodeling your old sink, or in a total renovation of your kitchen, a correct installation of a kitchen sink is the most important part of a working cooking room.
Installation of kitchen sink has various procedures, which include space measurement, pipe connections etc. The question many house owners ask themselves is whether to do kitchen sink installation by themselves or employ the services of an expert.
It is actually really good news because utilizing the appropriate equipment and endurance, the process of installing a kitchen sink can be a satisfying DIY activity.
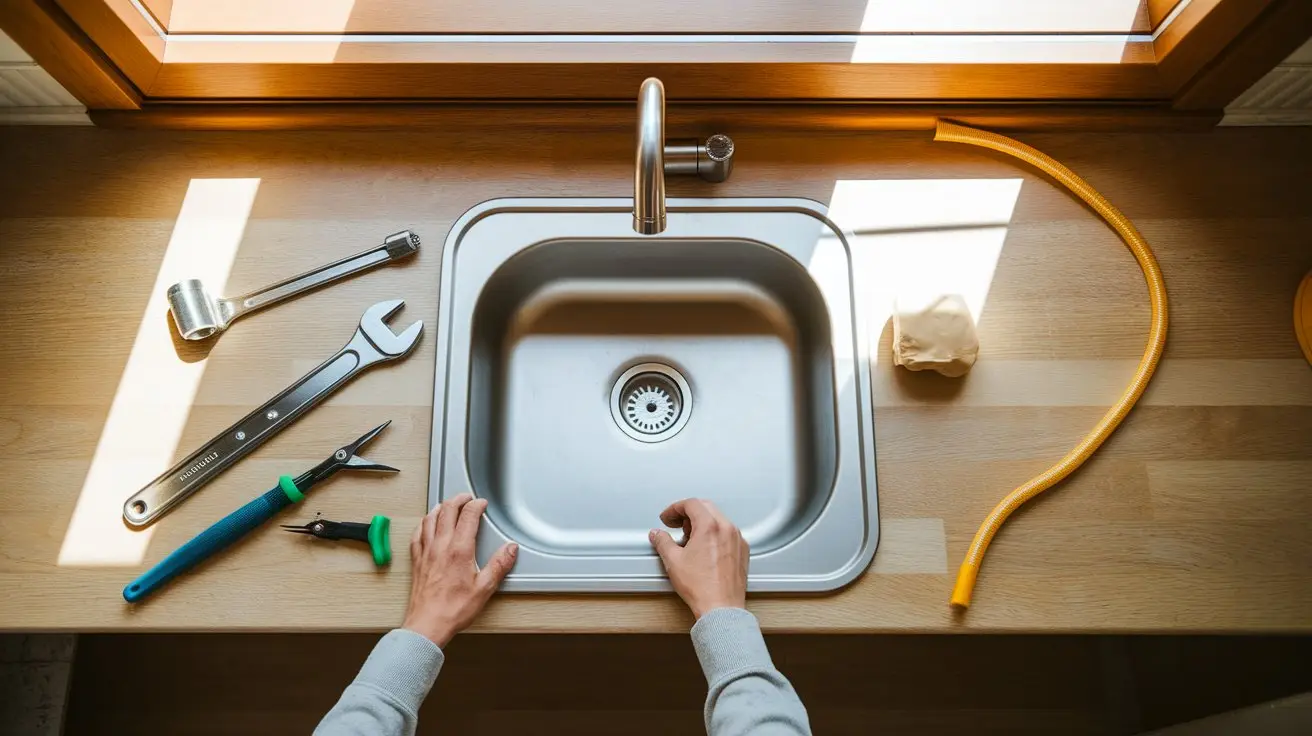
When installing your kitchen sink, all the materials needed must be collected and the water must be turned off first.
When you have installed your sink, it is important to maintain it. You can read our guide on how to clean a kitchen sink drain to make your kitchen sparkling and running.
The average cost of a new kitchen sink is around $467, but this can vary widely based on your choices.
Different sink styles have different price ranges:
Several factors can increase your costs:
If you do the work yourself, you’ll only pay for the sink and materials.
Good planning makes installation much easier and prevents problems.
First, measure your current sink opening to make sure your new sink will fit. Check the depth too – deeper sinks might hit pipes underneath.
Pick the right material and style for your needs. Stainless steel is affordable and durable. Stone sinks look great but weigh much more.
You can handle this project yourself if you:
Hire a plumber if you need to:

Gather everything before you start to avoid trips to the hardware store.
Now for the main event. Take your time and follow each step carefully.
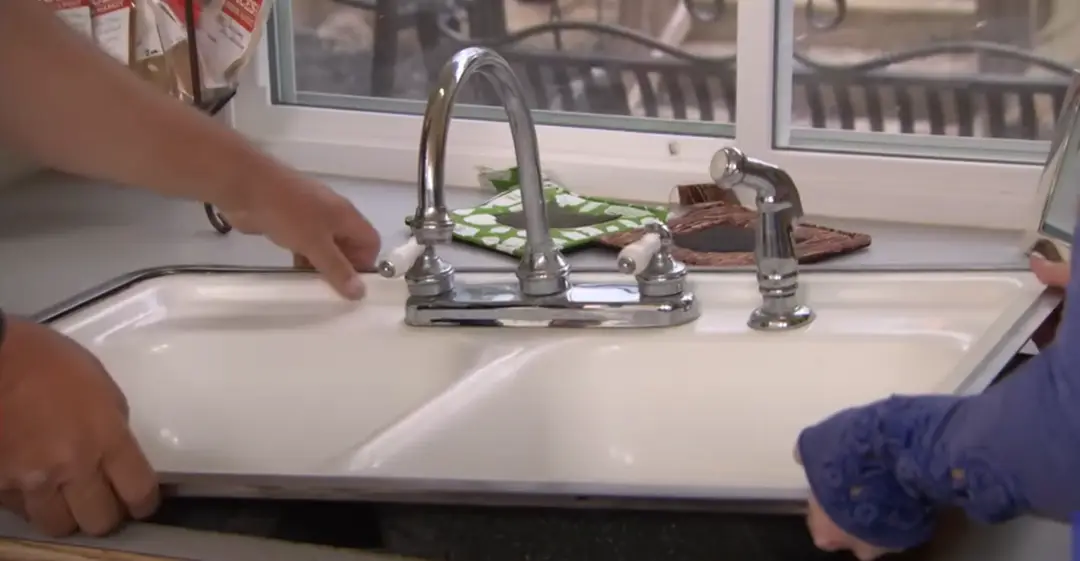
The installation begins by shutting off the water supply and disconnecting the old faucet lines and drain pipes.
Once the plumbing is loose, the mounting clips that hold the sink to the countertop are undone.
A putty knife is used to carefully break the adhesive seal around the rim, making sure not to damage the laminate surface. With everything freed, the old sink is lifted out and set aside.
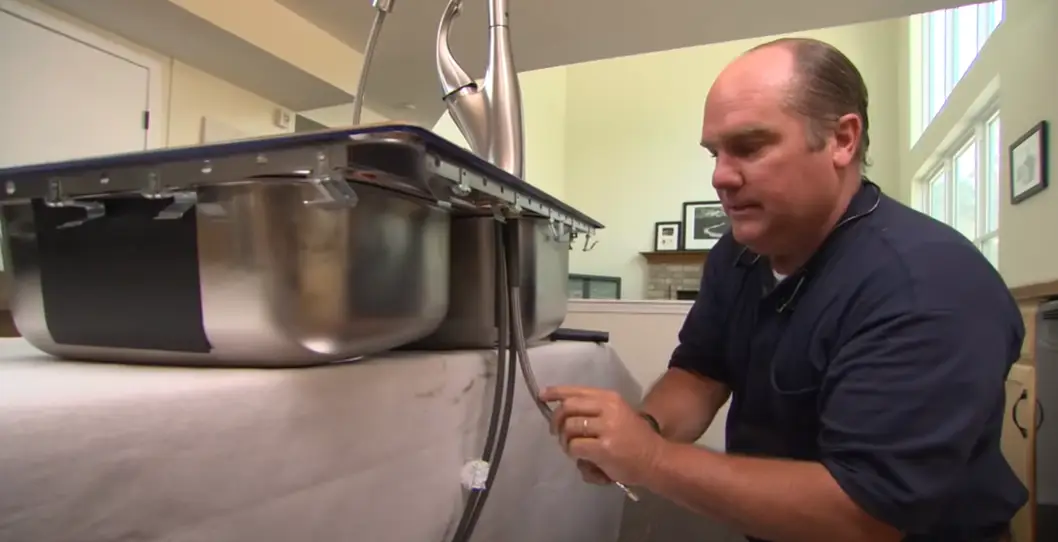
Next, attention shifts to the new stainless steel sink. The faucet and pull-out sprayer are installed directly onto the sink before dropping it in place, which makes the process much easier.
The built-in gasket around the sink rim and factory-mounted clips are highlighted as features that save time and prevent leaks.
The spray hose is connected, the weight is added for smooth retraction, and the faucet is tightened securely.
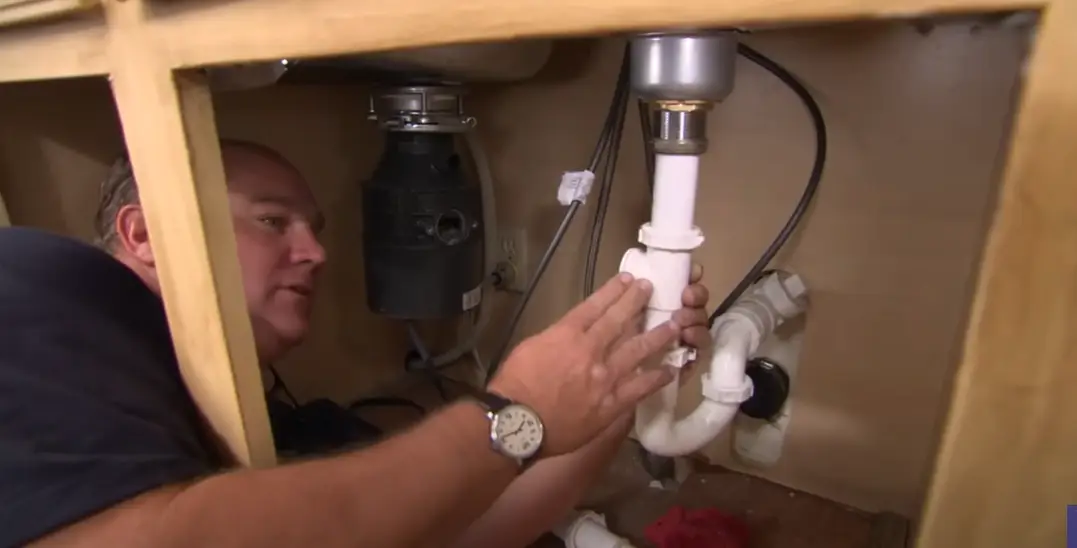
Before the new sink goes in, the plumbing beneath the cabinet is updated. The old standpipe system connected to the dishwasher is removed because it’s outdated and no longer code.
The unnecessary trap is capped, and the dishwasher drain line is rerouted directly into the garbage disposal’s built-in connection. This ensures a safer, more efficient setup.
With preparation complete, the new sink is carefully lowered into the countertop opening and secured with the clips underneath.
The hot and cold water supply lines are reconnected to the faucet, and plumber’s putty is rolled and pressed around the sink strainers to create a watertight seal.
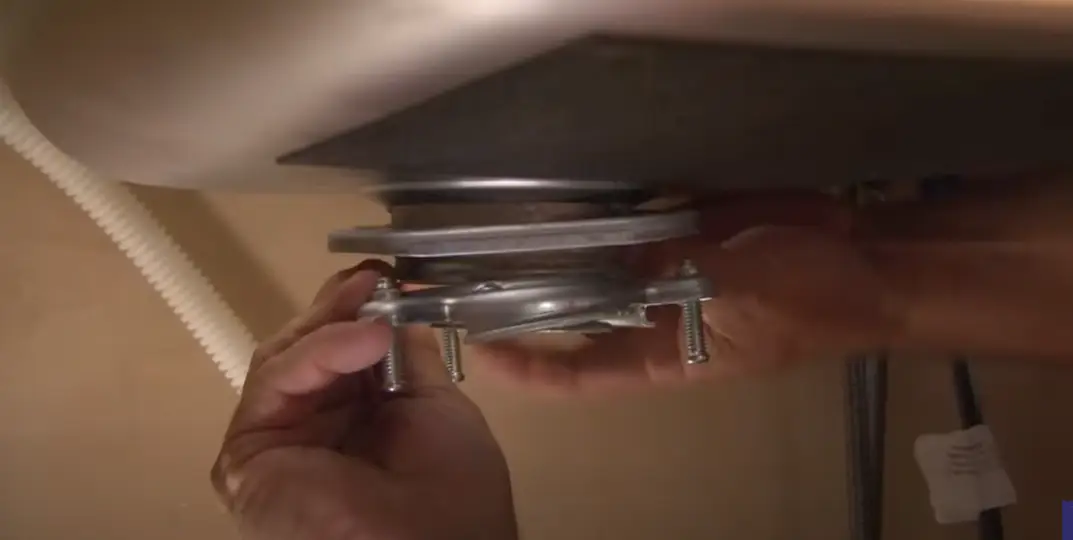
The garbage disposal is then locked into place under the left bowl of the sink, tightened against the adapter ring to ensure no leaks.
The last step is connecting the drainpipes and dishwasher discharge line. Using gaskets and compression fittings, the installer reconnects the P-trap and makes sure all drain components are aligned properly.
The dishwasher hose is secured to the disposal with a clamp, and all fittings are tightened.
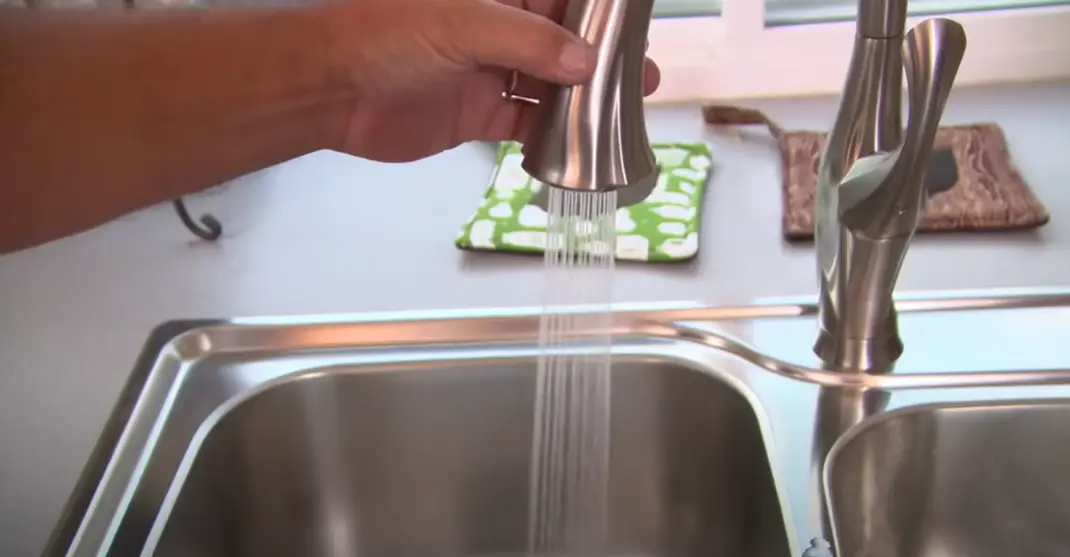
Finally, the water supply is turned back on, the faucet and sprayer are tested, and the garbage disposal is run to confirm everything works without leaks.
For a step-by-step visual guide, watch this helpful YouTube tutorial that walks through removing the old sink, preparing the new one, connecting the plumbing, and testing everything for leaks.
Let the caulk cure according to the manufacturer’s instructions before heavy use. Clean up any debris and check that everything is level and properly aligned.
Fill the sink with water overnight to weigh it down while the sealant sets completely.
Keep your new sink in great shape with simple care:
Choose professional installation for:
Your kitchen sink project has been finished!Handy kitchen sink installation is a tremendous change in your life.
Keep in mind that it may take time to complete successfully, and you have to be attentive to the detail.In case you had some difficulties in the process, there is no need to panic, even the skilled DIYers may require some assistance when working with plumbing.
The best thing about kitchen sink installation which is installed in the kitchen sink is that it has to be operating well without any leakage. Spend some time checking every connection and ensuring that there is no problem.
You have just completed your project and enjoy it!And you are a very smart girl, you see your hard work has paid off and you have a functioning and installed sink that will serve you well years to come.
Mounting clips, brackets, and caulk or plumber’s putty create a secure, watertight seal.
Most installations use plumber’s putty for drain connections. Some materials work better with silicone caulk — check your sink’s instructions.
Plan on 4-6 hours for a DIY installation, especially if you’re learning as you go.
Check connections at the faucet base, supply lines, drain connections, and around the sink rim.

Jackson Reed is a hands-on home projects expert with over eight years of experience helping people create practical, achievable solutions for their spaces. He enjoys discovering innovative approaches that empower readers to improve their environments themselves. Jackson combines creativity, problem-solving, and practicality in his work, inspiring others to transform everyday spaces in ways that are both realistic and impactful, while encouraging confidence and independence in tackling projects.


No Comments