


How to Choose the Perfect Window Coverings for Your Home
Window coverings are more than just decorative features. They influence

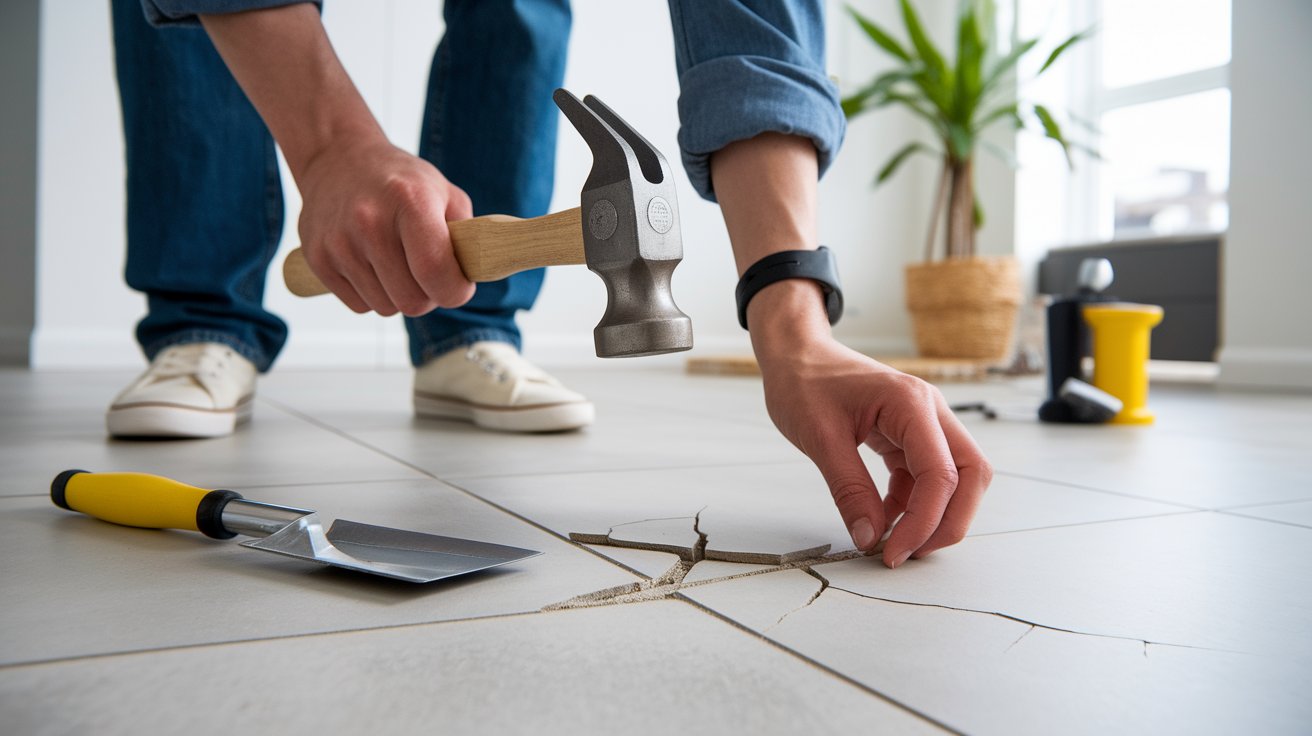
Broken floor tiles do not necessarily imply a costly professional solution or even a new floor. With cracks at the hairline, loose tiles, or even fully broken ones, fixing floor tiles can be accomplished with the right method and the simple use of DIY skills.
The Majority of homeowners do not have to hire costly contractors to address issues that are common with tiles. These fixing floor tile projects are not as difficult as they seem, even when it comes to basic repairs, such as filling cracks or replacing single tiles. Using the right tools and proper preparation, you can restore your floor to its original appearance and utility.
This in-depth tutorial will take you through the process of troubleshooting the issue, selecting the right repair procedure, and finishing the job like a professional. You will be taught step-by-step methods of fixing floor tiles while saving money, and at the same time produce quality results that are professional in the case of your tile flooring project.
Before reaching for any tools, take time to properly assess what you’re dealing with. Different types of tile damage require completely different repair approaches, and using the wrong method can make the problem worse or waste your time and materials.
Hairline cracks are thin lines that appear on the tile surface but don’t go all the way through. These are often caused by minor impacts or natural settling of the house. The good news is that cosmetic repair is usually enough—you won’t need to remove the entire tile.
Loose or hollow tiles indicate that the adhesive bond between the tile and subfloor has failed. These tiles may still look intact on the surface, but they’ve lost their structural connection underneath. You’ll often notice slight movement when you step on them, or they may sit slightly higher or lower than surrounding tiles.
Fully broken tiles have obvious cracks that go completely through the material, missing pieces, or significant damage that affects the tile’s integrity. These always need complete replacement—there’s no effective way to repair a tile that’s structurally compromised.
Here’s a pro tip that professional installers use: tap each suspected tile with a coin. A solid, dense sound indicates the tile is properly bonded. A hollow, echoing sound means the adhesive has failed and the tile is loose, even if it looks fine on the surface.
This table helps you quickly identify which approach matches your specific situation.
Don’t be tempted to take shortcuts—using the wrong method for your damage type will lead to recurring problems.
Damage Type | Repair Method | Time Required | Difficulty | Materials Needed |
Hairline crack | Epoxy fill + touch-up paint | 2-4 hours | Easy | Clear epoxy, matching paint, brush |
Loose tile | Re-bond with fresh adhesive | 4-6 hours | Moderate | Tile adhesive, grout, basic tools |
Broken tile | Complete replacement | 6-8 hours | Moderate-Hard | New tile, thin-set, grout, removal tools |
Having everything ready before you start makes the repair process much smoother. Here’s your complete shopping list:
Clear epoxy (for crack repairs) • Pre-mixed thin-set mortar • Pre-mixed grout matching existing color • Grout sealant • Touch-up paint (if needed) • Replacement tile (if replacing)
Hammer and chisel • Grout saw or removal tool • Notched trowel (1/4-inch for most tiles) • Rubber grout float • Large sponges • Utility knife • Measuring tape
Safety goggles (tile dust is dangerous) • Heavy work gloves • Knee pads for floor work • Dust mask • Drop cloths
Most of these items are available at any home improvement store, and many can be rented if you don’t want to purchase specialized tools for a one-time repair.
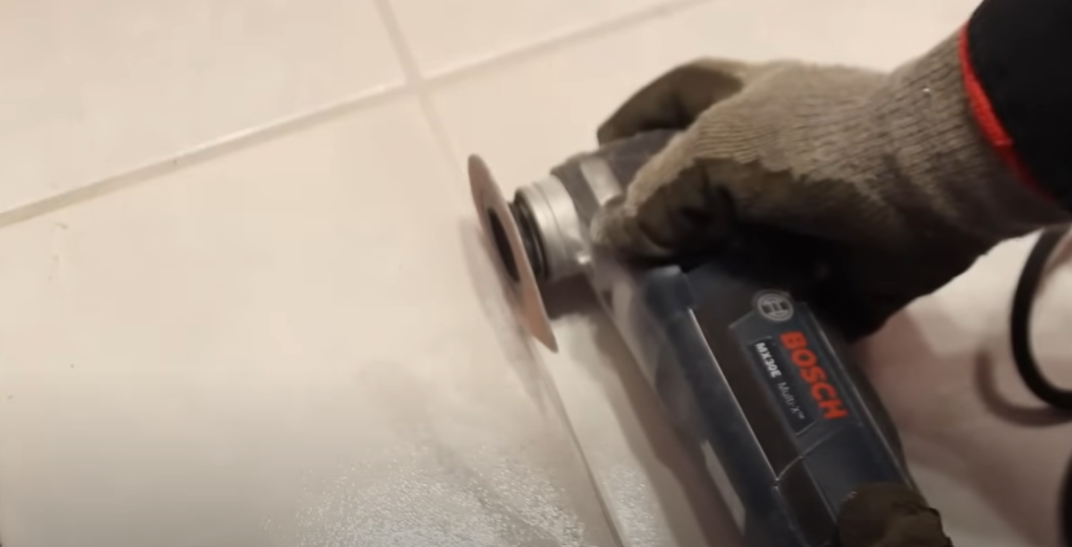
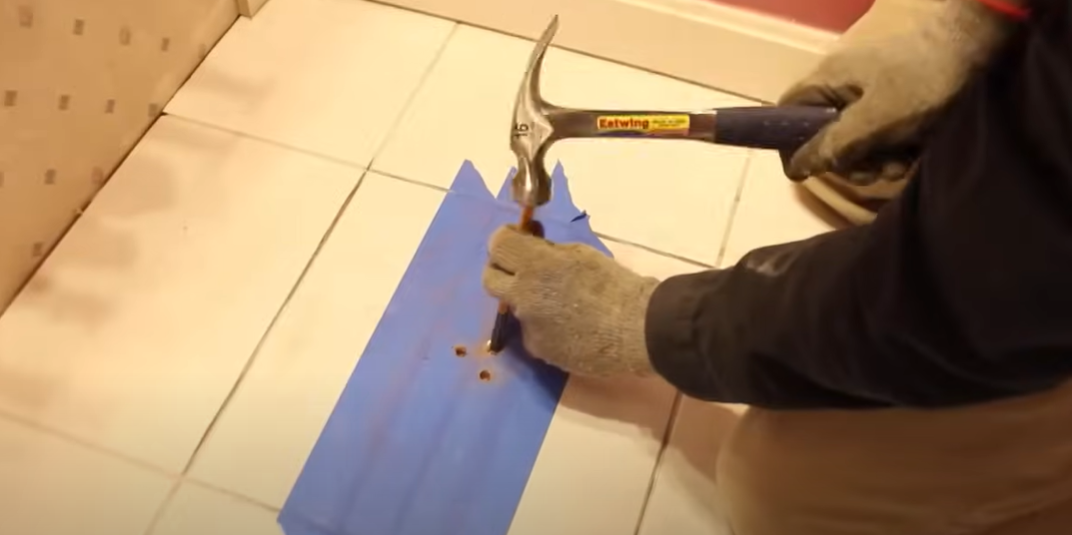
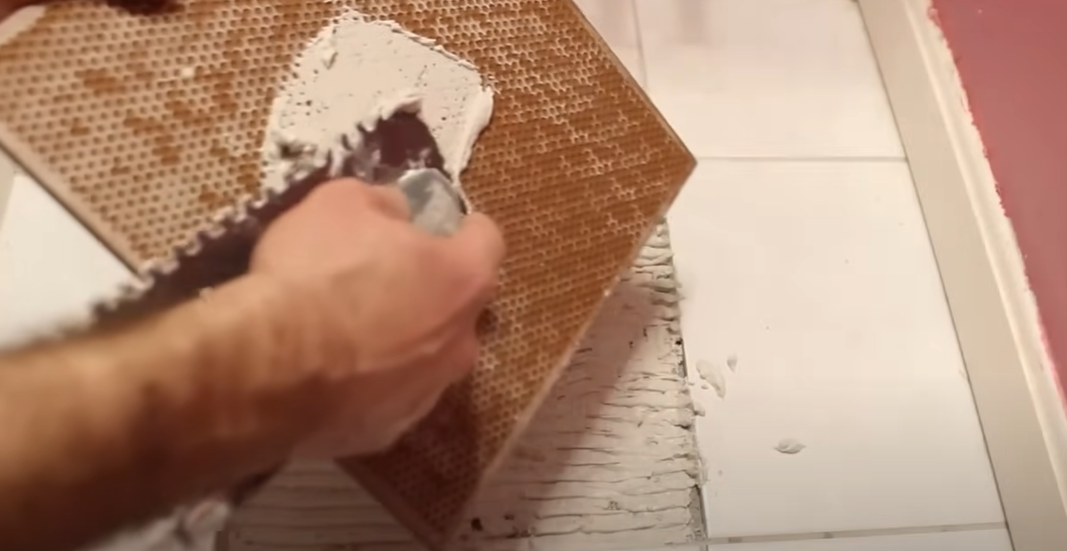
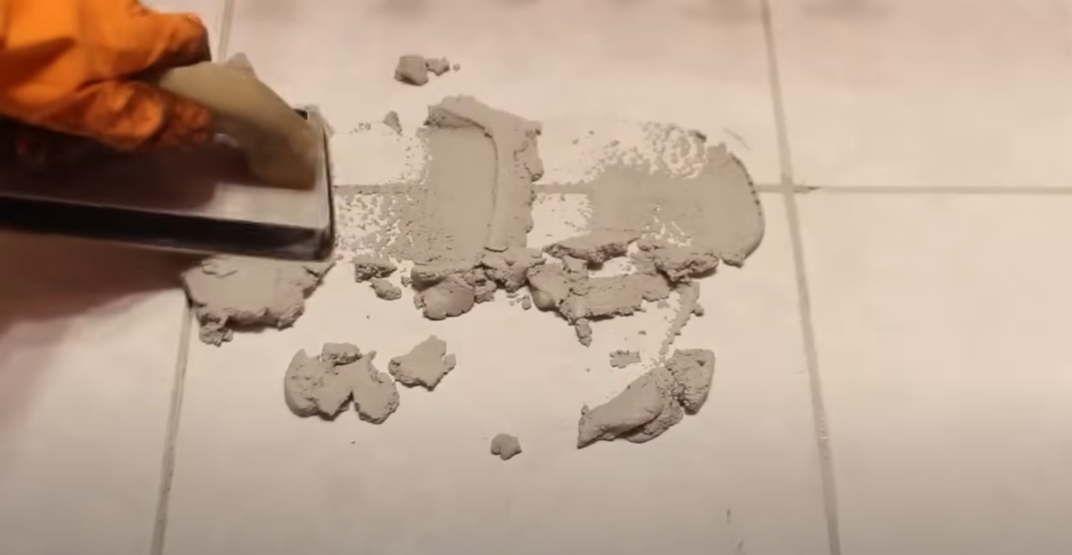
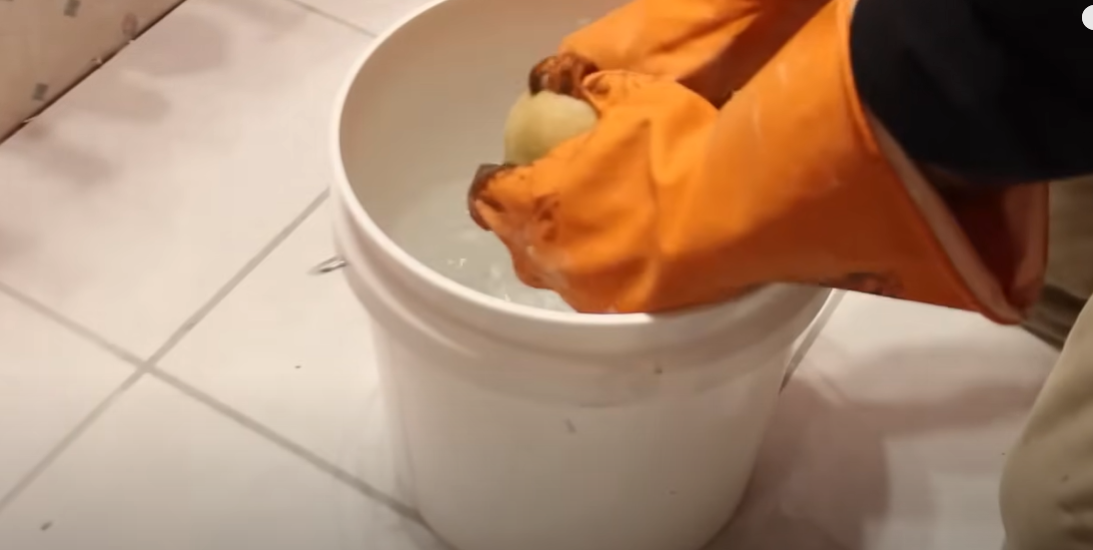
See these tile repair techniques in action with our step-by-step video guide:
This visual walkthrough will help you tackle your repair project with confidence.
Once you’ve completed your tile repair, proper maintenance will help prevent future problems and extend the life of your floor.
Grout is porous and absorbs moisture over time, which weakens the tile installation and can lead to mold growth. A quality grout sealer creates a protective barrier that repels water and stains. This simple maintenance step can prevent many of the problems that lead to loose or damaged tiles.
Dragging chairs, tables, and appliances across tile floors creates stress that can crack tiles or weaken the adhesive bond. Felt furniture pads distribute weight more evenly and eliminate the grinding action that damages tile surfaces.
If you notice multiple tiles becoming loose in the same area, or if cracks keep reappearing after repairs, there may be movement in the subfloor underneath. This could indicate structural issues that need professional attention before any tile repairs will hold permanently.
Keep your repair area clean and dry, especially during the first 48 hours after completion. Avoid heavy foot traffic during the curing period, and don’t mop the area until all materials have fully set according to manufacturer instructions.
Fixing floor tiles successfully comes down to choosing the right approach for your specific situation. Remember the three main strategies: repair hairline cracks with epoxy, re-bond loose tiles with fresh adhesive, or replace broken tiles completely. Each method has its place, and using the correct technique ensures your fix will last.
Don’t be intimidated by tile repair—with proper diagnosis, the right materials, and patience during the curing process, most homeowners can achieve professional-looking results. The key is taking your time during each step and not rushing the drying process.
With a little effort, you can restore your floor to like-new condition—saving money and avoiding bigger problems later. Start with proper diagnosis, gather your materials, and take on your tile repair project with confidence.

Jackson Reed is a hands-on home projects expert with over eight years of experience helping people create practical, achievable solutions for their spaces. He enjoys discovering innovative approaches that empower readers to improve their environments themselves. Jackson combines creativity, problem-solving, and practicality in his work, inspiring others to transform everyday spaces in ways that are both realistic and impactful, while encouraging confidence and independence in tackling projects.


No Comments